Relay makes it easy to work on merchants' Issues all from the same Issue modal (window). In this guide, we will go through the basic chat workflow and functionality, with you acting as both a Customer User submitting the Issue and an agent working on the Issue.
As a Customer User
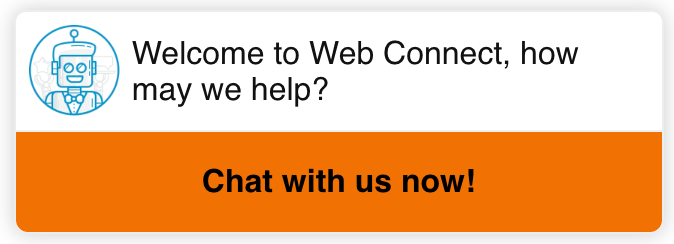
Ask your Admin to provide a link to a website page with a web chat (webConnect) widget. Click on Chat Now to open your Organization's custom chat window.
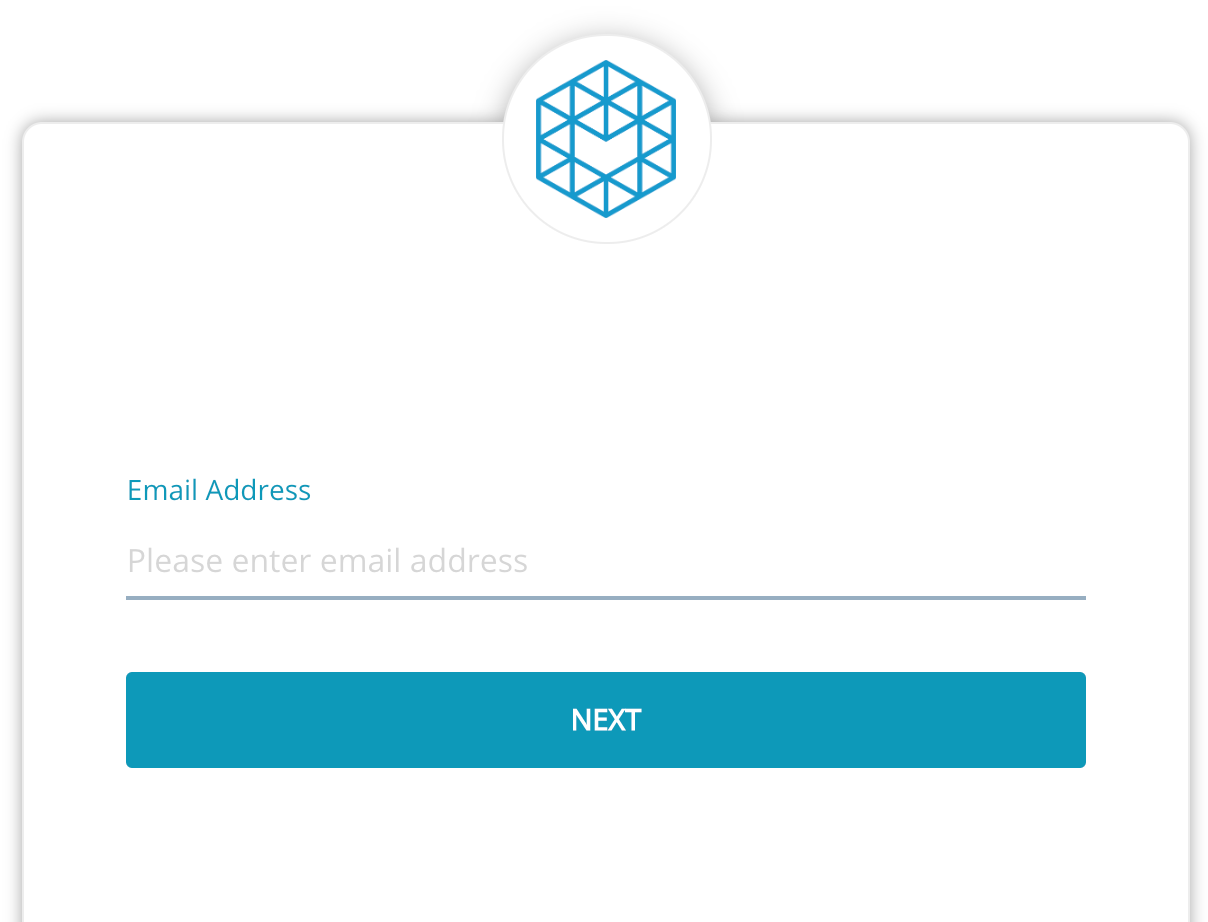
Enter your email and click Next, then enter your first name and phone number (and other information, if required by your Organization) (email address, first name, and phone number). If your log in information is associated with an existing Customer User, the Issue will be associated with that Customer User. If not, a new Customer User (and Customer) will be created. If the web chat requires a password, contact your Admin.
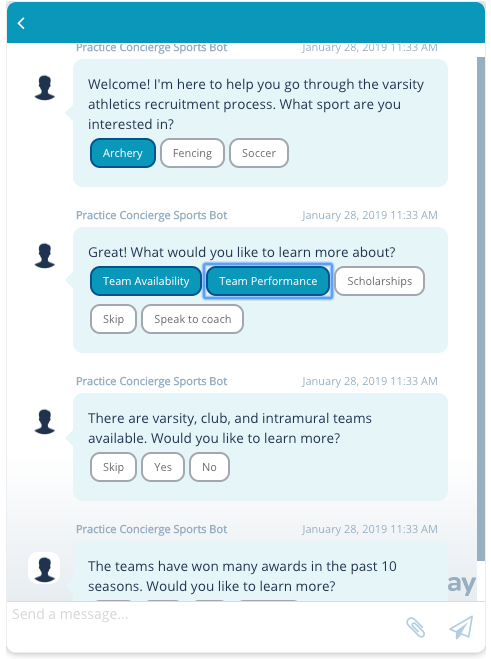
Click Start Conversation to start the chat. A Welcome Chatbot will trigger in the chat and ask how it can help. Ask the Bot a question or explore answers using the button flow (if provided by your Organization). The Bot will eventually route you to an agent, usually when you reach the Speak to Agent button.
As an agent
- In Relay, go to the Unclaimed queue in your Issues inbox.
- Claim the Issue you created. This action will move the Issue to the Mine inbox queue. Verify that the Issue has been moved to the right queue.
- Go to the Issues → List and find the Support issue you created.
- Double click on the Issue or click on
 (Pencil) to open the Issue modal (window).
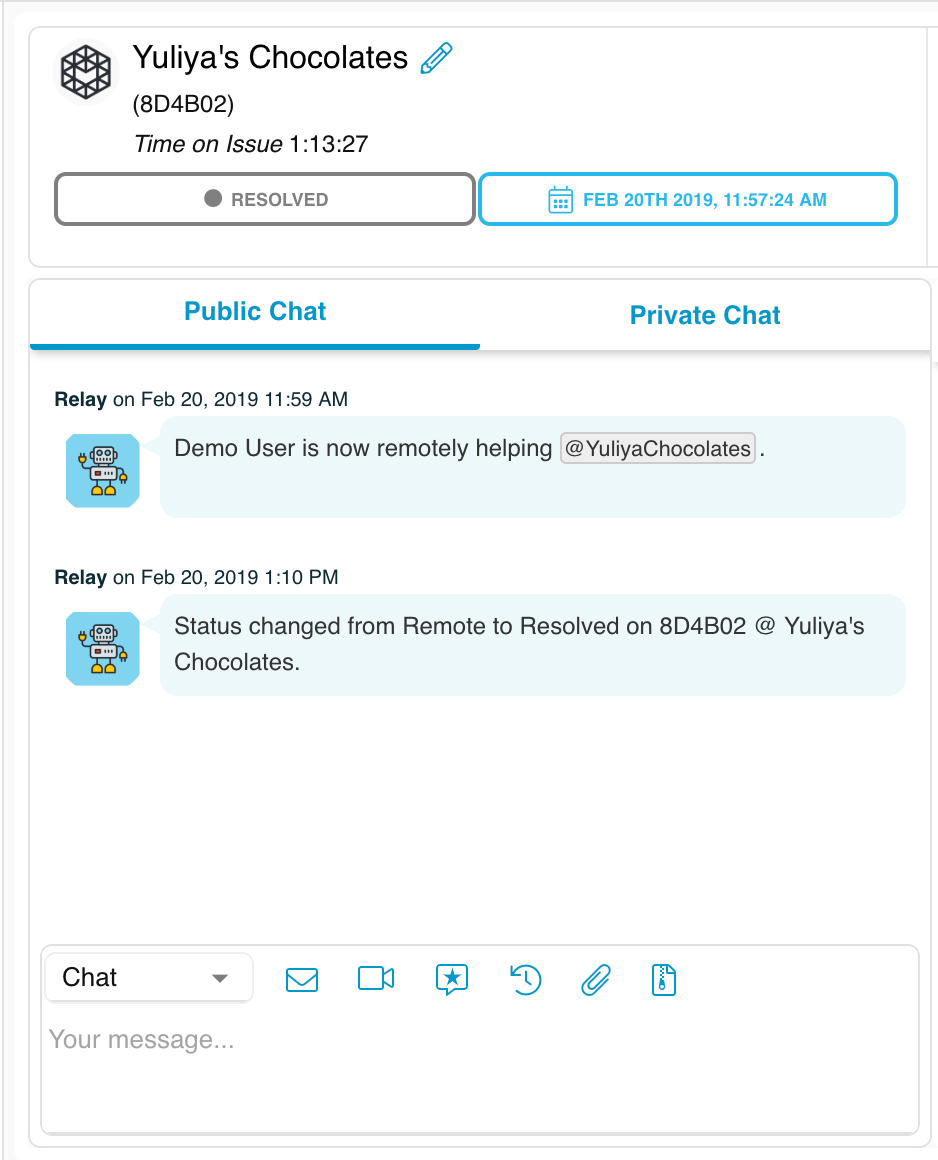
 - On the information card at the top of the modal, verify that your name is listed as the Owner User and that the Issue status is set to Remote (to learn what the different statuses mean, click here).
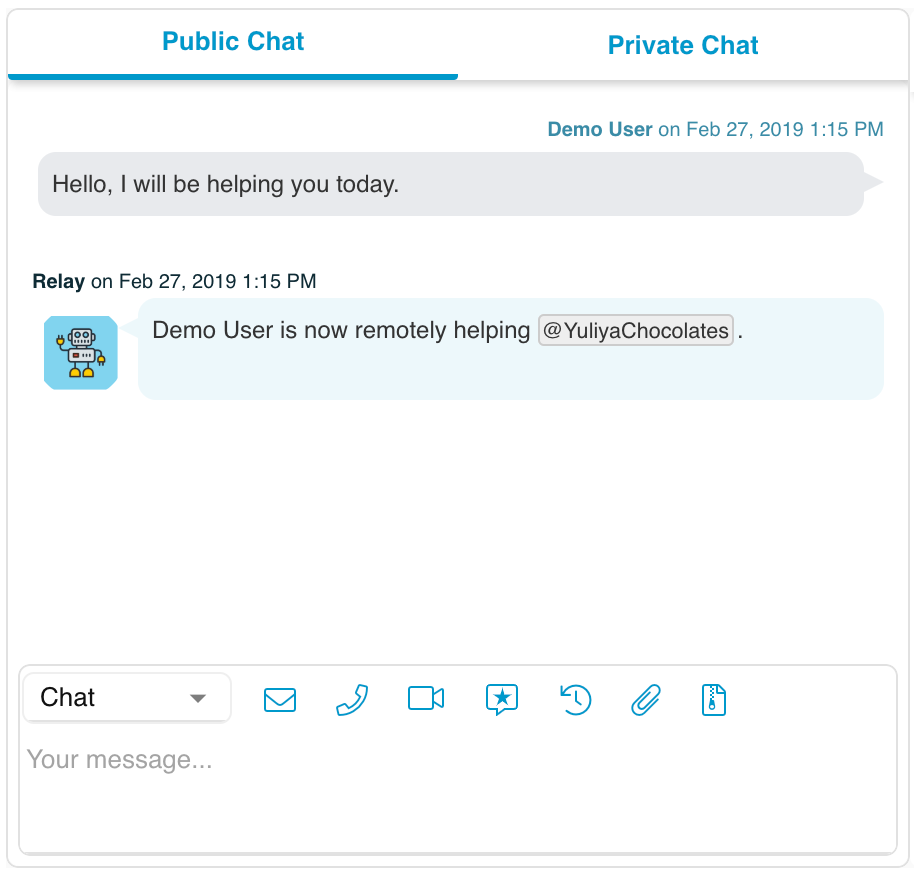
- Locate the Public Chat on the left side of the Issue modal. Verify that the channel dropdown is set to Chat.
- Send a test message to the merchant.
- Test the other functions of the modal chatrooms (and learn more about chatrooms here):
- Select the Private Chat tab and send a message in that chatroom. Private Chat allows agents to collaborate on the Issue. Customer Users will not see the messages sent here. Learn more about using Private Chat here.
- Click on
 (Add Log Note) at the bottom of the chat window. Post a note in the chatroom. These notes will only be visible to you and other Relay users who have access to the Issue.
As a Customer User
Go back into the web chat. Verify that:
- You received the messages sent from Public Chat.
- You did NOT receive records of any log notes or Private Chat messages.
As an agent
Navigate to the Issue Edit section on the right side of the Issue modal (window). Learn more about the Issue modal and its functionality here.
- Give your issue an Issue Name.
- Tag a device, such as a Vx520, in the Technologies field (use the Not Listed? button if you cannot find your device in the dropdown).
- Add tags to the Categories field.
- Type some notes into the Issue Symptoms, Diagnosis, and Resolution fields.
- Hit Save.
- Go to
 (Files) on the left navigation bar of the Issue modal and attach any relevant files or images to the Issue.
 - Go back to
 (Issue Details) on the left navigation bar of the Issue modal. Try the following functions:
 - Click the Resolve button at the top of the modal (or go to Issue Transitions → Resolve if you have a smaller screen) and set the Resolution field to Completed to resolve the Issue (or to Cancelled if you would like to simply cancel the Issue).
- Hit Save to return to the main screen of the Issue modal.
- Verify that the Issue status is Resolved (or Cancelled, if you set the Resolution field to Cancelled). You may now close the Issue.
As a Customer User
You will receive a notification that the Issue status has changed to Resolved and your web chat will automatically close. You will then be asked to provide feedback on the interaction.
