After the Customer's concerns have been address and/or the work order/training has been completed, you may resolve the Issue.
NOTE: only Issues already assigned to Users can be resolved. Learn how to assign Issues here.
NOTE: for Issues that have sub-Issues, you must first close out of the sub-Issue before resolving the parent Issue.
- Open your Issue.
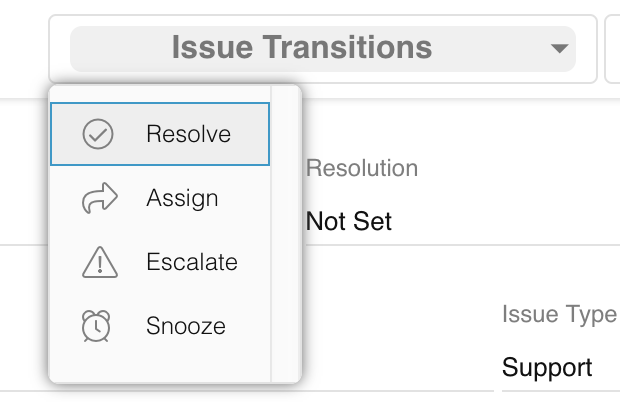
- Click on the Resolve button or go to Issue Transitions → Resolve.

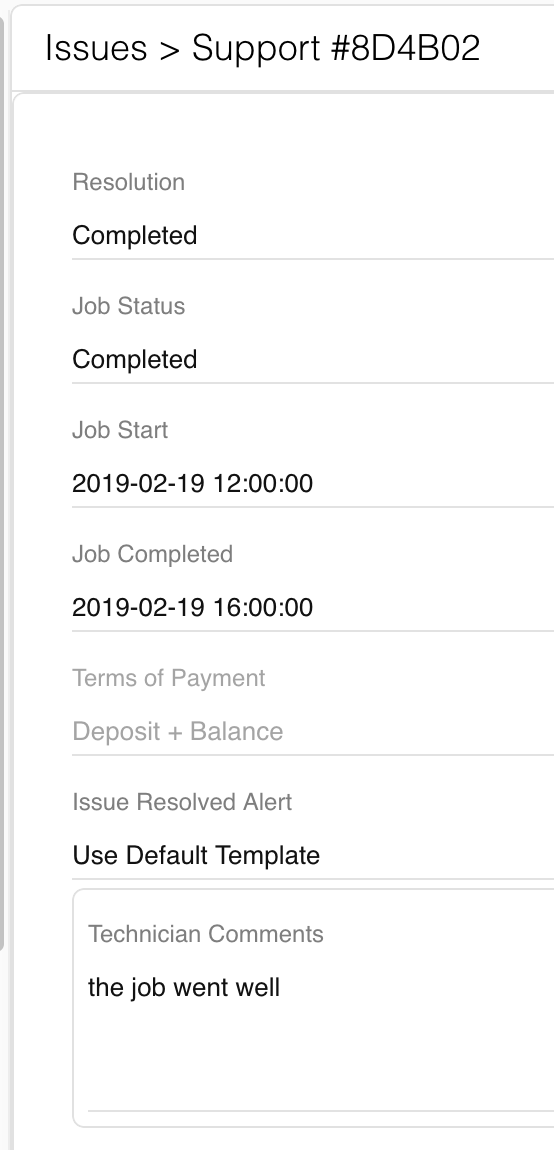
- Fill out the following fields. NOTE: for technician onsite work, these fields will be auto-populated based on the technician's ToolBox input.
- Resolution: select Completed from the dropdown.
- Job Status: (onsite work and activations/trainings only) select Completed from the dropdown.
- Job Start: (onsite work and activations/trainings only) select or type when the job started. The time is displayed in a 24-hour format.
- Job Completed: (onsite work and activations/trainings only) select or type when the job was completed. The time is displayed in a 24-hour format.
- Issue Resolved Alert: select between Do Not Send Email Alert and Use Default Template. If you select the former, Customers will not receive a notification that their Issue has been resolved. By default, Customers will be sent an email notification that you can view in Alert Notifications.
- Technician Comments: (onsite work only) this field will be auto-populated with the technician's ToolBox comments, but you can also edit it.

- (optional) Survey Channel: by default, the Customer survey will be emailed to the Customer User who submitted the Issue. However, you can also add emails of Customer Users who will also receive the survey.
- Additional Emails: type the emails of Customer Users you want to receive the survey results, separated by commas, or select email(s) from the dropdown. For example, you may want to send emails to the Customer User who submitted the Issue and their manager(s).
- Customer Survey: select the survey you would like to send out.

- (optional) Items: add and edit paid items or services.
- (optional) Files: upload relevant files or images to the Issue. NOTE: the chat transcript will be automatically added to Issue files.
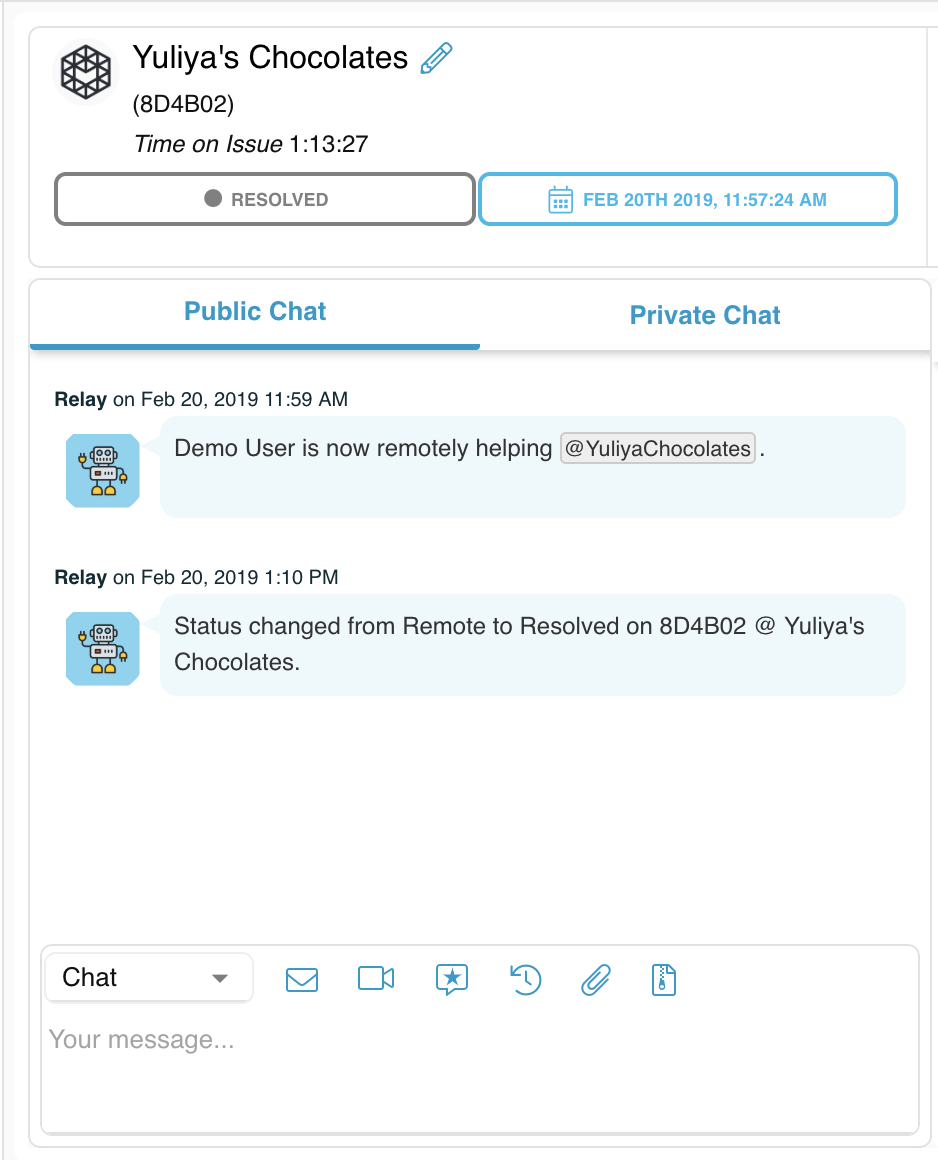
- Hit Save. Your Issue will now show up as Resolved in Issues List, and a status update will appear in the Public Chat.
