The Owner User is the agent who will follow the Issue to resolution and perform all the necessary intermediate actions. You may assign a new Owner User to the Issue at any point before its resolution—the process for assigning and reassigning Users Issues is the same. Returning to the Assign form for a second time will allow you to reassign.
Follow the directions bellow to assign an Owner User to and Issue. You can also assign yourself as the Owner User of an Issue through the Issues inbox.
- Open your Issue.
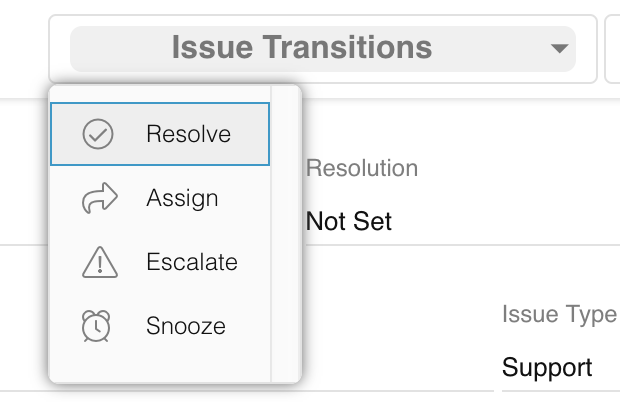
- Click on the Assign button or go to Issue Transitions → Assign.

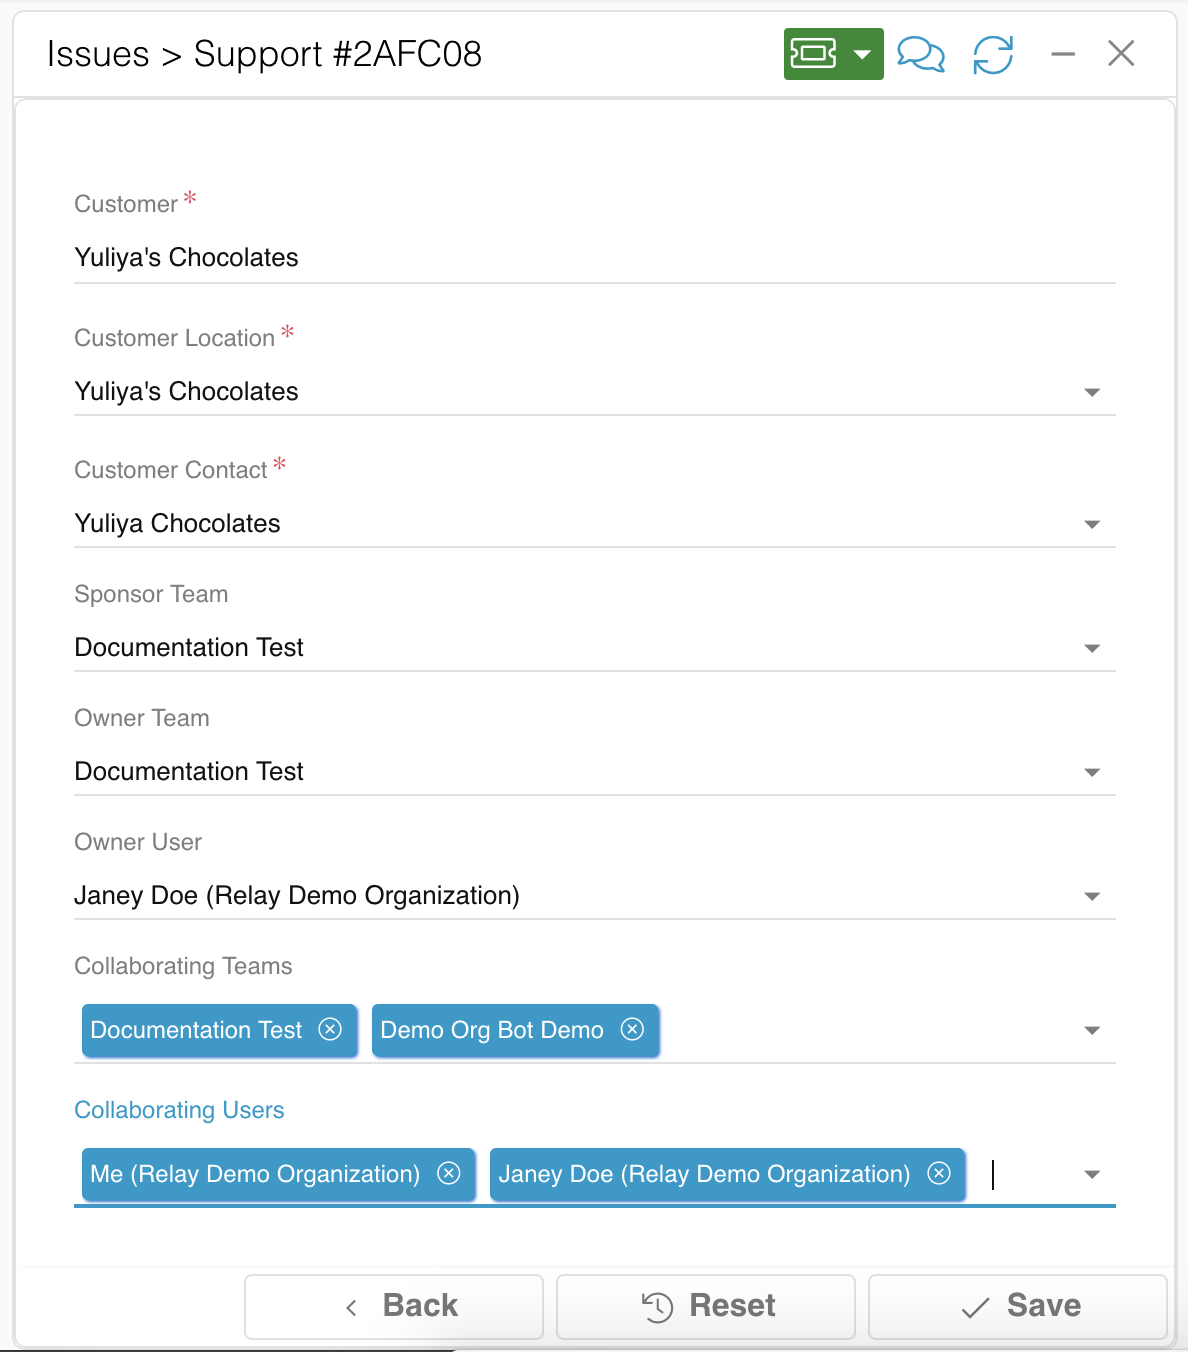
- Fill out the following fields:
- Customer: (auto-populated) you can change the Issue Customer assignment here.
- Customer Location: (auto-populated) you can select a new Location from the dropdown.
- Customer Contact: (auto-populated) you can select a new Contact from the dropdown.
- Sponsor Team: select the Team that provided the technology the Customer is having an Issue with. Depending on the Team settings, this field may be auto-populated.
- Owner Team: select the Team that will work on the merchant’s Issue. Depending on the Team settings, this field may be auto-populated. NOTE: if the Issue has an Owner Team but not an Owner User, it will appear in the Unclaimed Issues inbox queue for all team members of the Owner Team.
- Owner User: assign the main user responsible for the Issue. You can assign collaborating Users later. NOTE: the Owner User must be part of the Owner Team.
- Collaborating Teams: select the Team(s) working on or monitoring the Issue. NOTE: you must add a User from each Collaborating Team for the collaboration to work.
- Collaborating Users: select the User(s) working on or monitoring the Issue. NOTE: each User must be a member of a Collaborating Team.
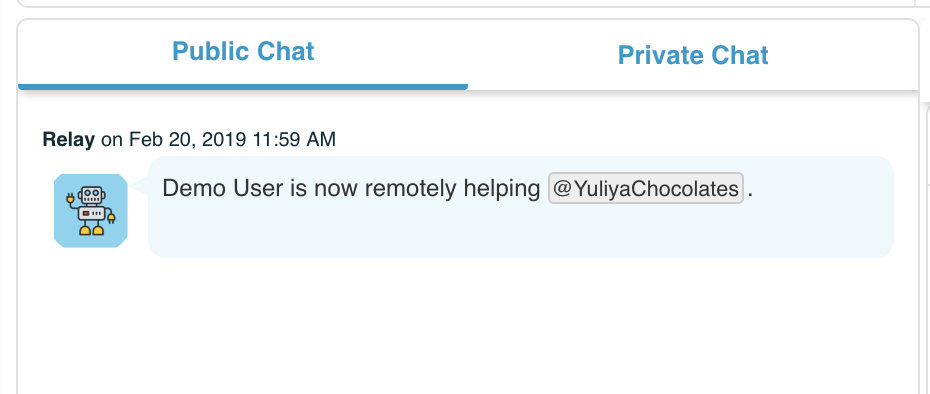
- Hit Save. The Customer will receive a notification that their Issue has been claimed.

