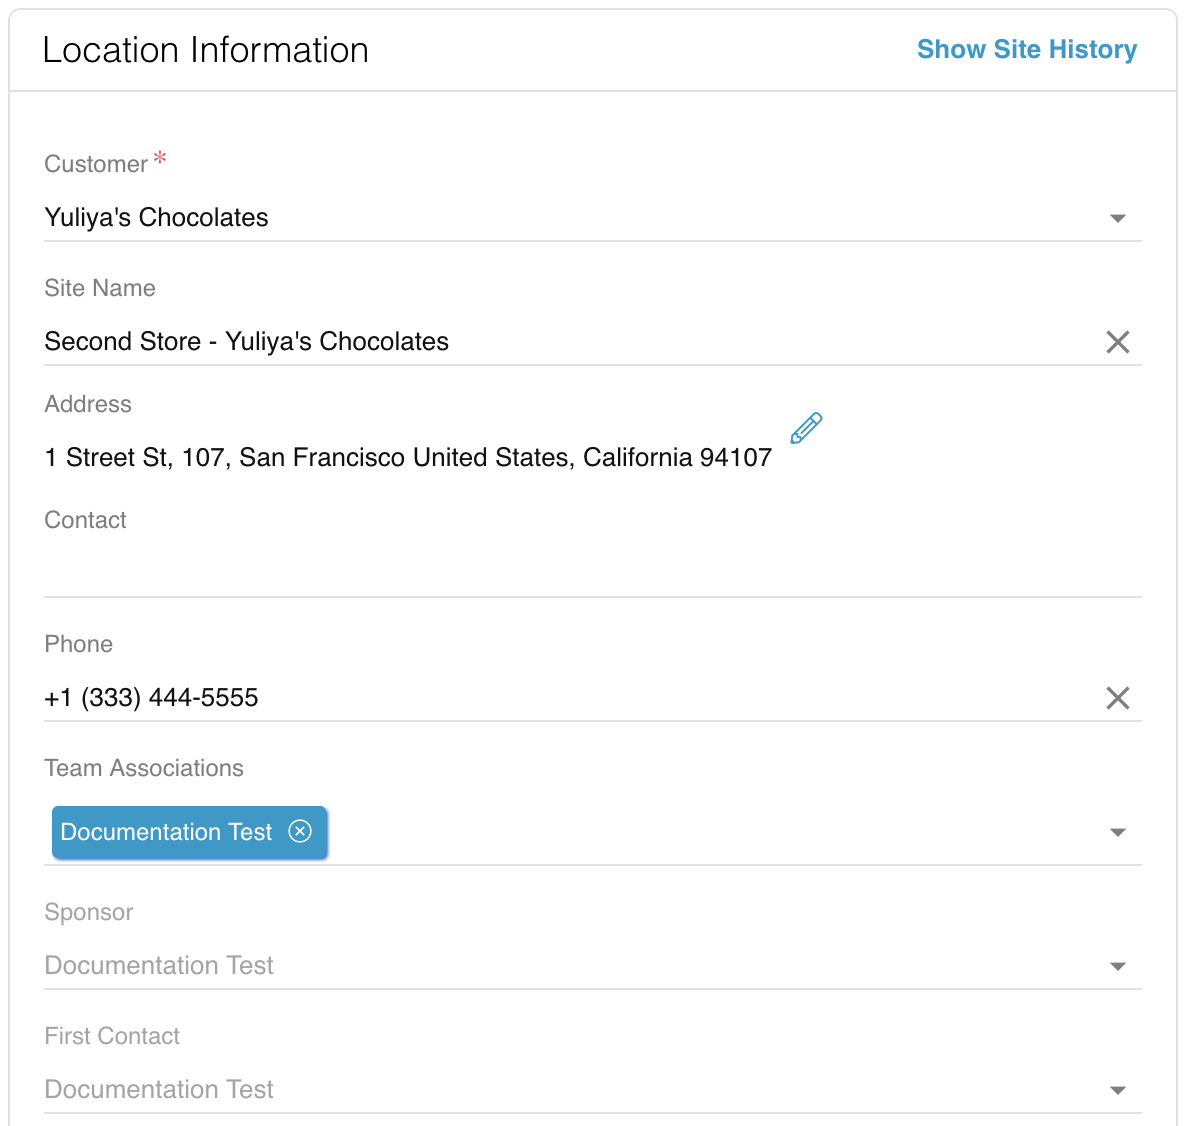
A Customer Location is a specific business location associated with the Customer. Many Customers will only have one Location that is automatically created when you add or import the Customer, while chain businesses will have multiple Locations. Each Location can be associated with different Teams from multiple Organizations that together provide an ecosystem of support. For example, if two Locations, A and B, from the same Customer have different printers, you can associate Location A with the Team that services one printer, and Location B with the Team that services the other printer.
- Go to Customers → Locations. You can also go to Customers → Profiles and select the Customer you wish to add the Location for, then click on
 (Locations) on the left navigation bar of the Customer modal.
 - Click +ADD in the top left corner of the Customer Locations modal.
- Fill out the following fields:
- Customer: select or search for a Customer from the dropdown. If you do not see the Customer in the dropdown, you will need to add or import a new Customer.
- Site Name: (optional) name your Location. If you leave this field blank, the Location name will be the address of the Location.
- Address: fill in all the required address fields, marked with a red *.
- Team Associations: build out the Customer Location Team associations ecosystem. This ecosystem includes all Teams that will be supporting the Customer Location. Add at least one Team in this field. You may add Team associations later when you reopen the new Location.
- (optional) Fill out the rest of the Customer Location information fields, such as their Merchant ID or Yelp! Page.
- Hit Save.
