How do I set up a TeamViewer integration?
Setting up a TeamViewer integration is twofold process. You must first create an app directly on TeamViewer, then configure the integration on the Boomtown Platform.
Part 1 – Create an App on TeamViewer
To create an app on TeamViewer, you may follow the instructions on the TeamViewer website which is captured in the screenshot below.
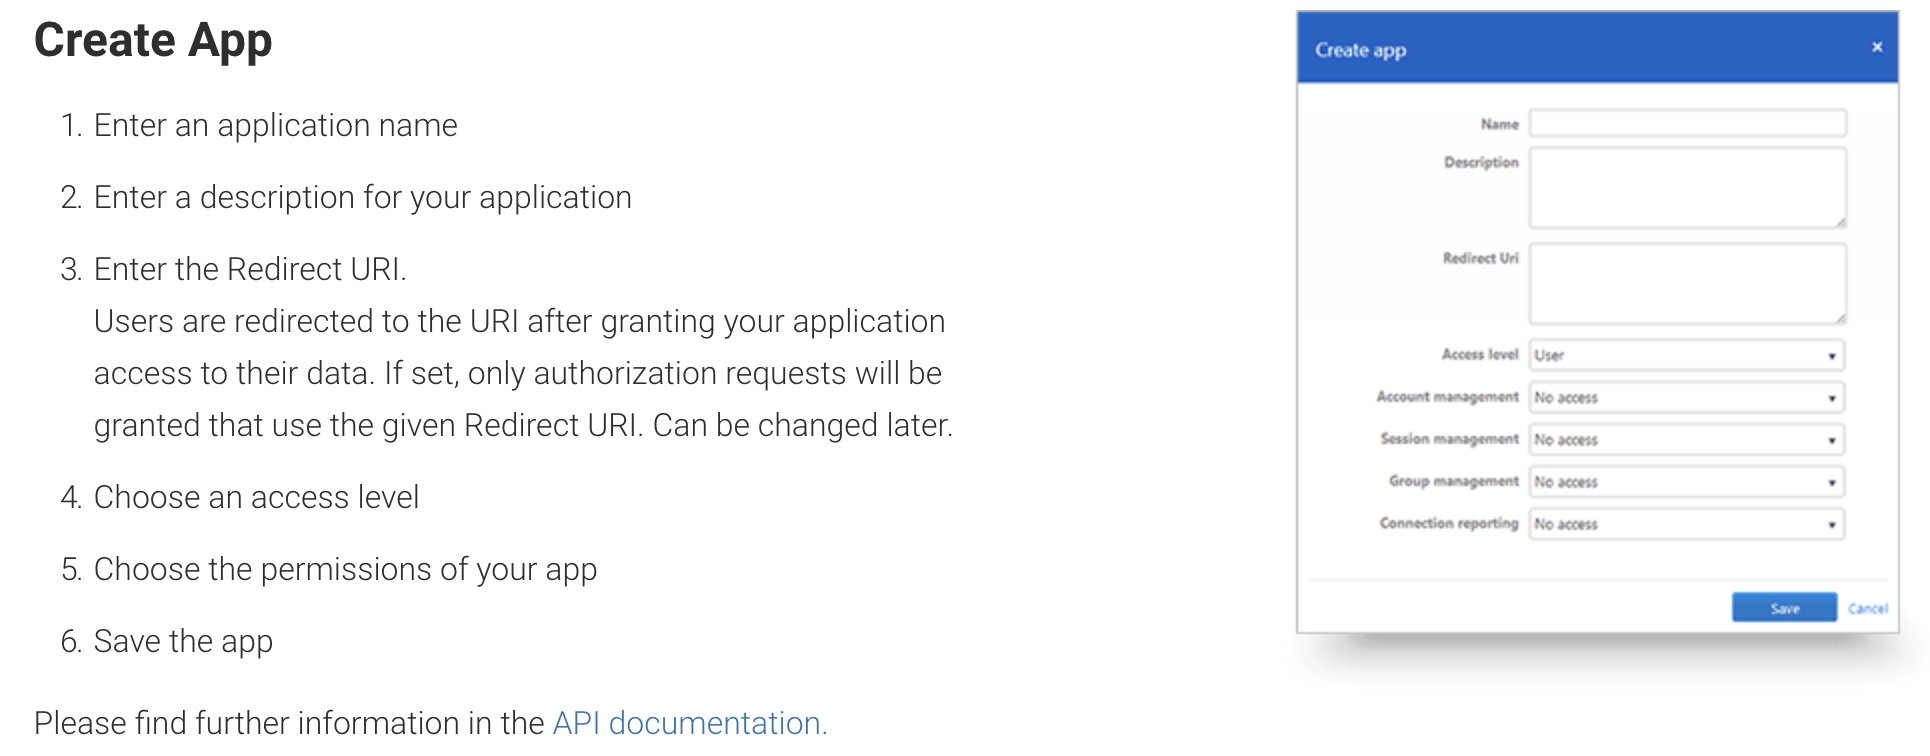
Source: https://www.teamviewer.com/en/for-developers/#createApplication
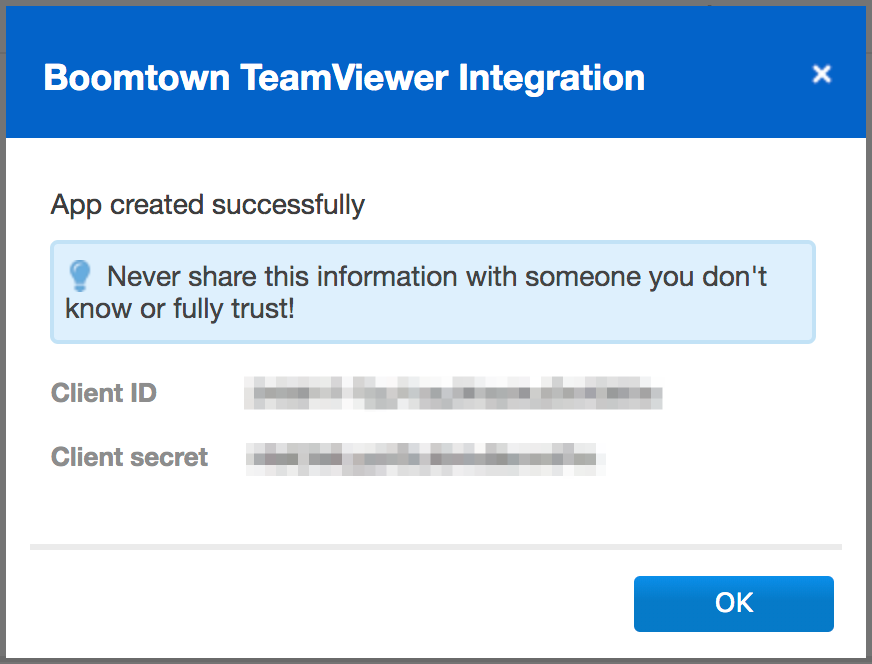
After you have created an app, you will be given a Client ID and a Client Secret which you will copy/paste into the Boomtown Process while configuring the TeamViewer Integration.
Part 2 – Configure the TeamViewer Integration on the Boomtown Platform
Once the app has been successfully created on the TeamViewer website, you may configure the TeamViewer integration on the Boomtown Platform.
- From the main navigation menu on the right-hand side, go to Settings > Channels (under Communications).
- Under Add New Communications Channel, find the TeamViewer tile and click on Configure.
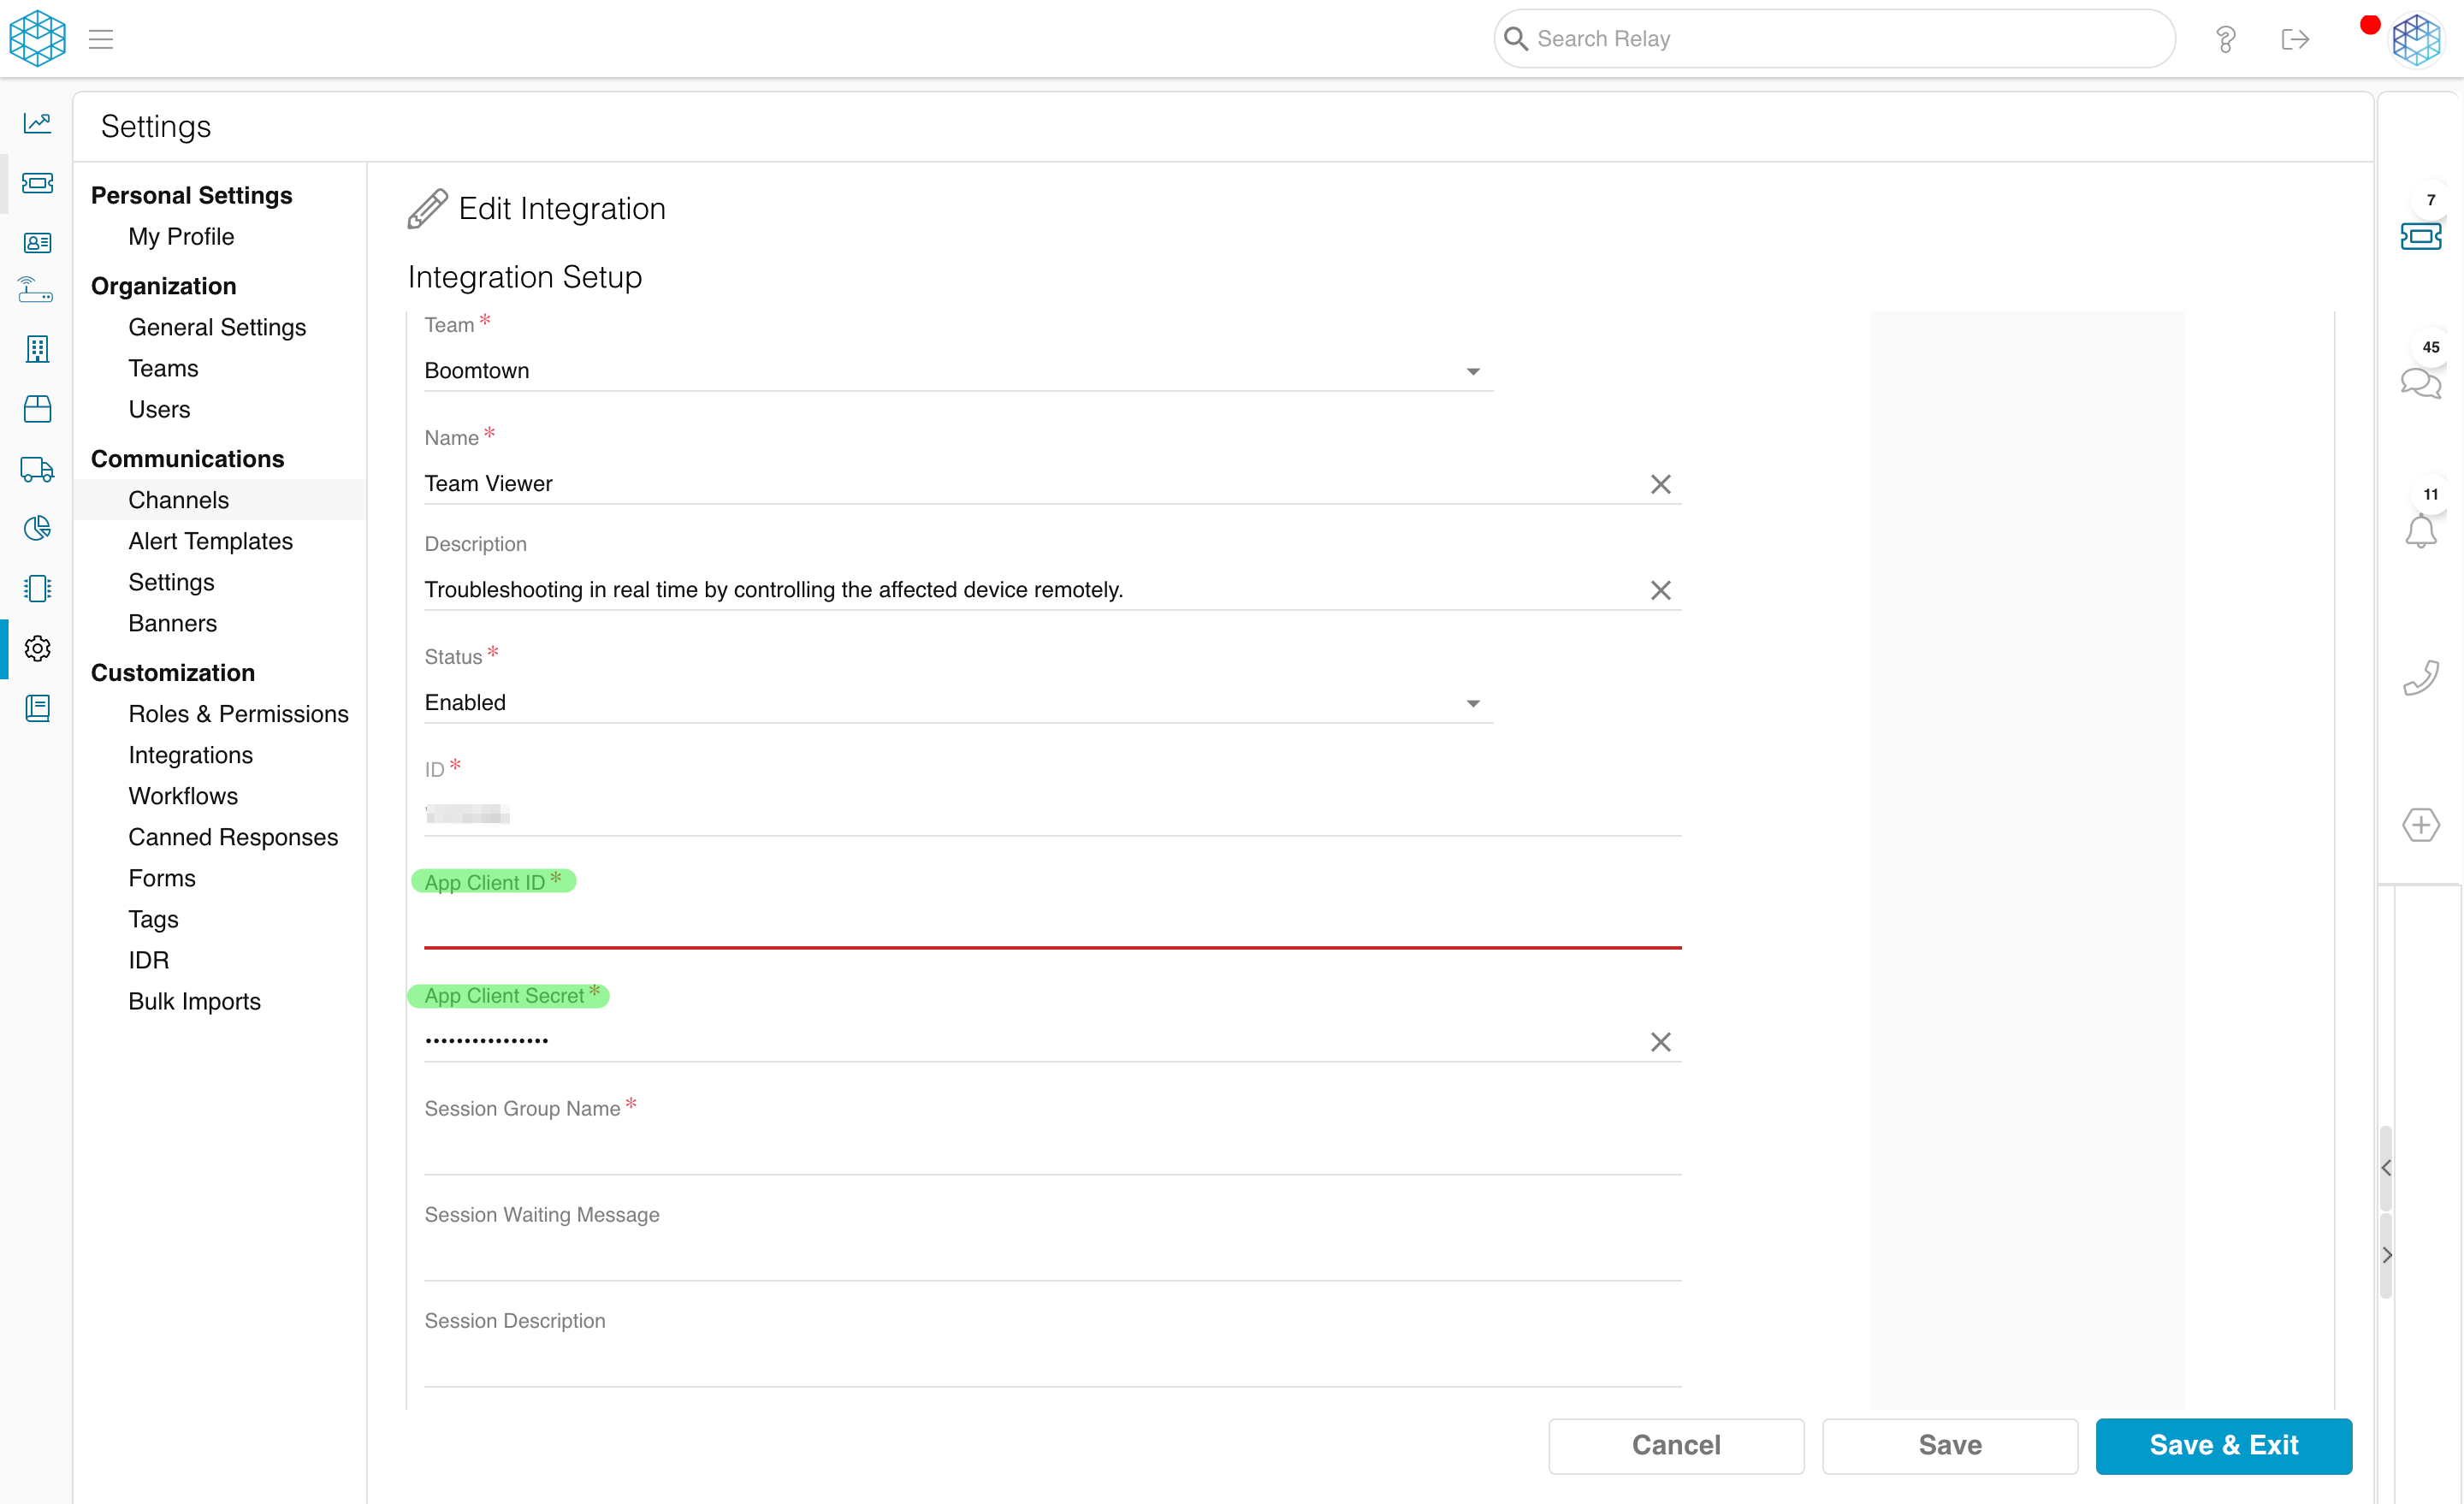
- Under Status, select Enabled.
- Copy/paste the "Client ID" and "Client Secret" from the TeamViewer app creation modal into the fields "App Client ID" and "App Secret" respectively.
- Click on Save & Exit.
How do I use the TeamViewer Integration?
The purpose of this section is to explain how both the Agent and Customer will use the TeamViewer Integration.
From the Customer's Perspective
- In order to use the TeamViewer Integration, you must create an Issue on the Boomtown Platform via WebChat.
- Once the Issue is created, it will be assigned to an Agent who's arrival will be announced in the chat window.
- The Agent should send you a TeamViewer Integration link.
- Click on that link to launch a TeamViewer session, choose between the full version and quick support, and follow all of the prompts.
- You should see a series of windows informing you of the Agent's imminent arrival along with a session code.
- You will be asked to allow the Agent to take over the screen.
- From there, the Agent should be able to help you troubleshoot your Issue using TeamViewer.

The modal that appears after the Customer clicks on the TeamViewer Integration link (PC View).

The screen the Customer will see in their TeamViewer session (PC View).
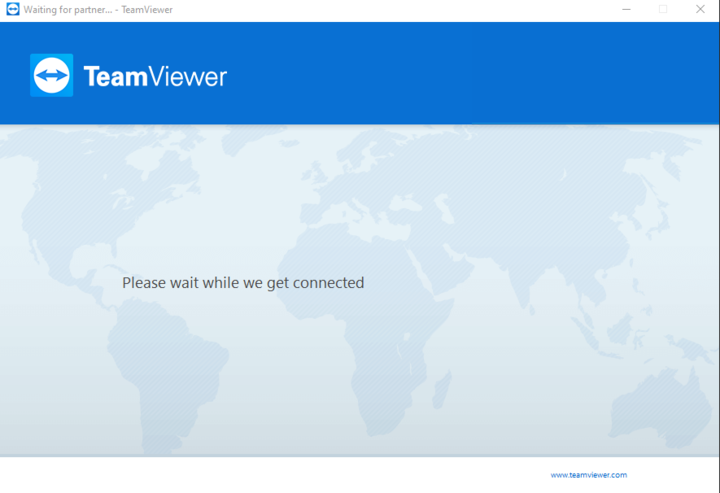
What the Customer will see while they're waiting for the Agent to arrive (PC View).
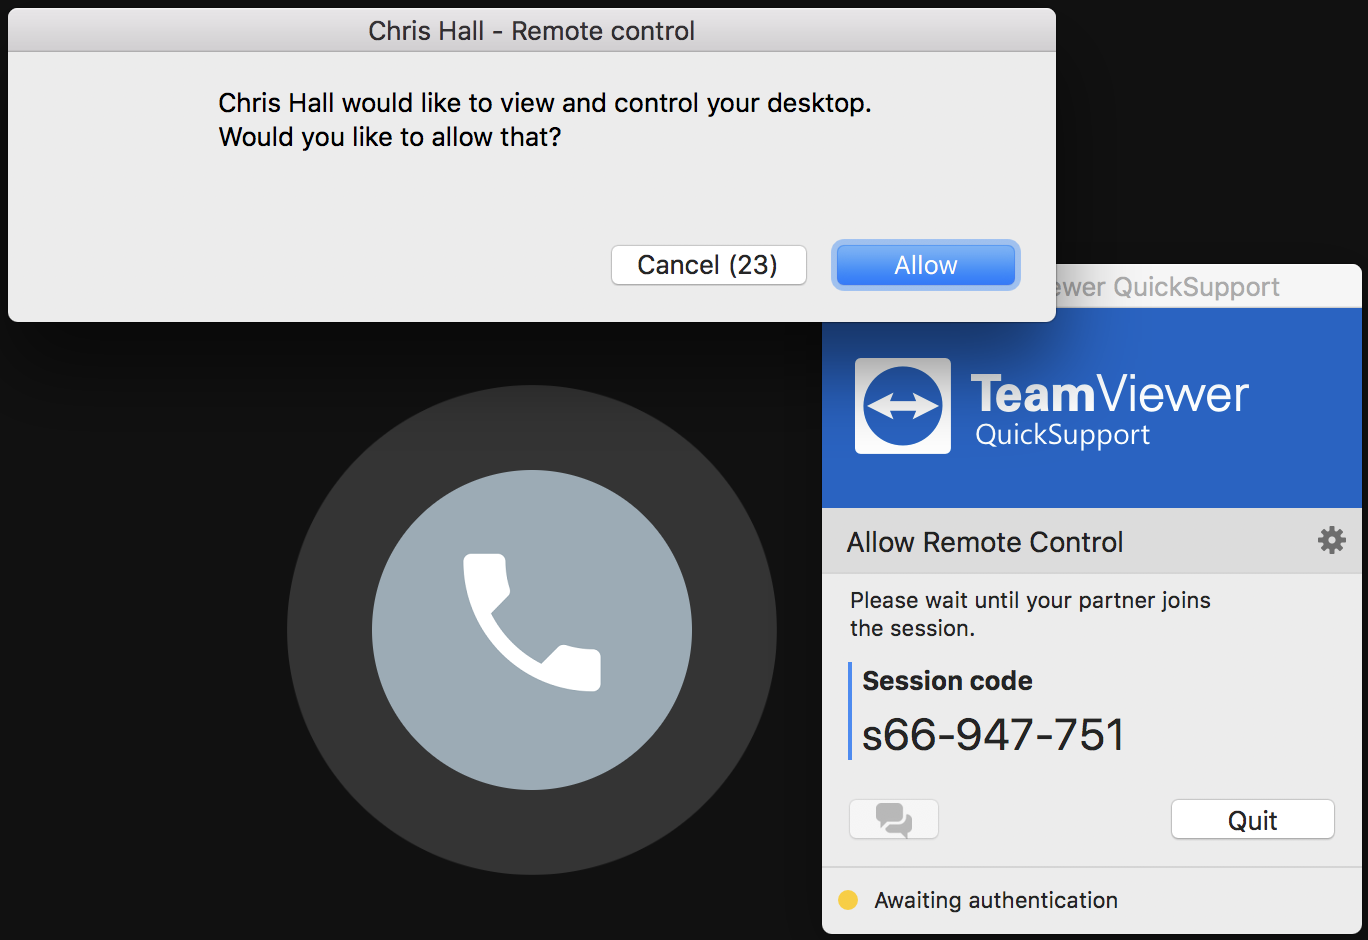
A MacBook view of what the Customer will see insofar as TeamViewer prompts.
From the Agent's Perspective
- From the Boomtown Platform, the Agent must claim the Issue in the Unclaimed Queue found on the right-hand panel.
- From Public Chat, click on the TeamViewer icon which will populate the TV link.
- Click Enter to send the link to Customer.
- Launch TeamViewer if it is not already running.
- Verify the connection to the Customer's TeamViewer Session from inside of TeamViewer under the "Session Group Name" (see Configuration Setup).
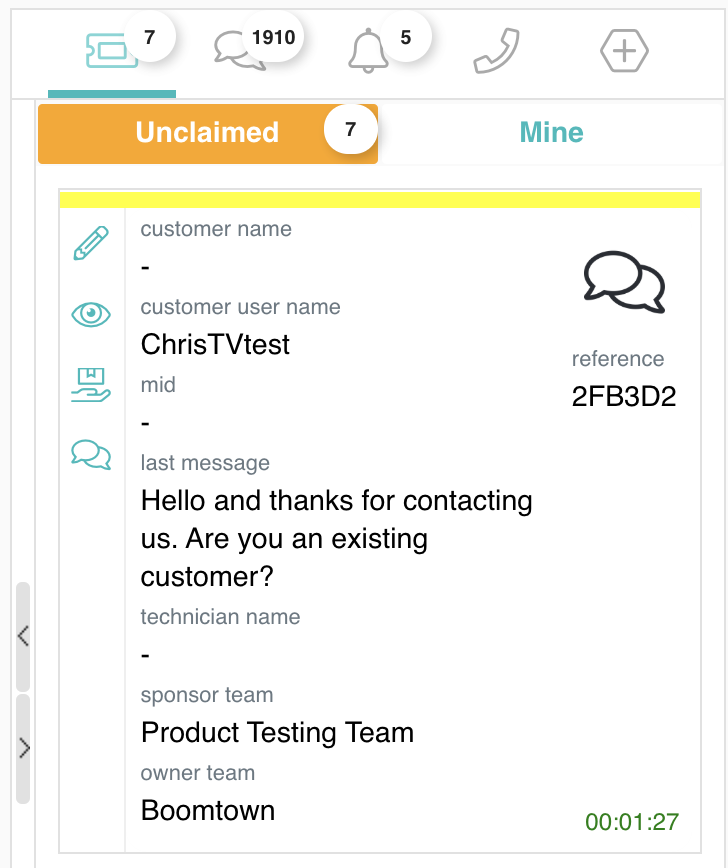
The Issue from the Unclaimed Queue on the right-hand side of the Boomtown Platform.
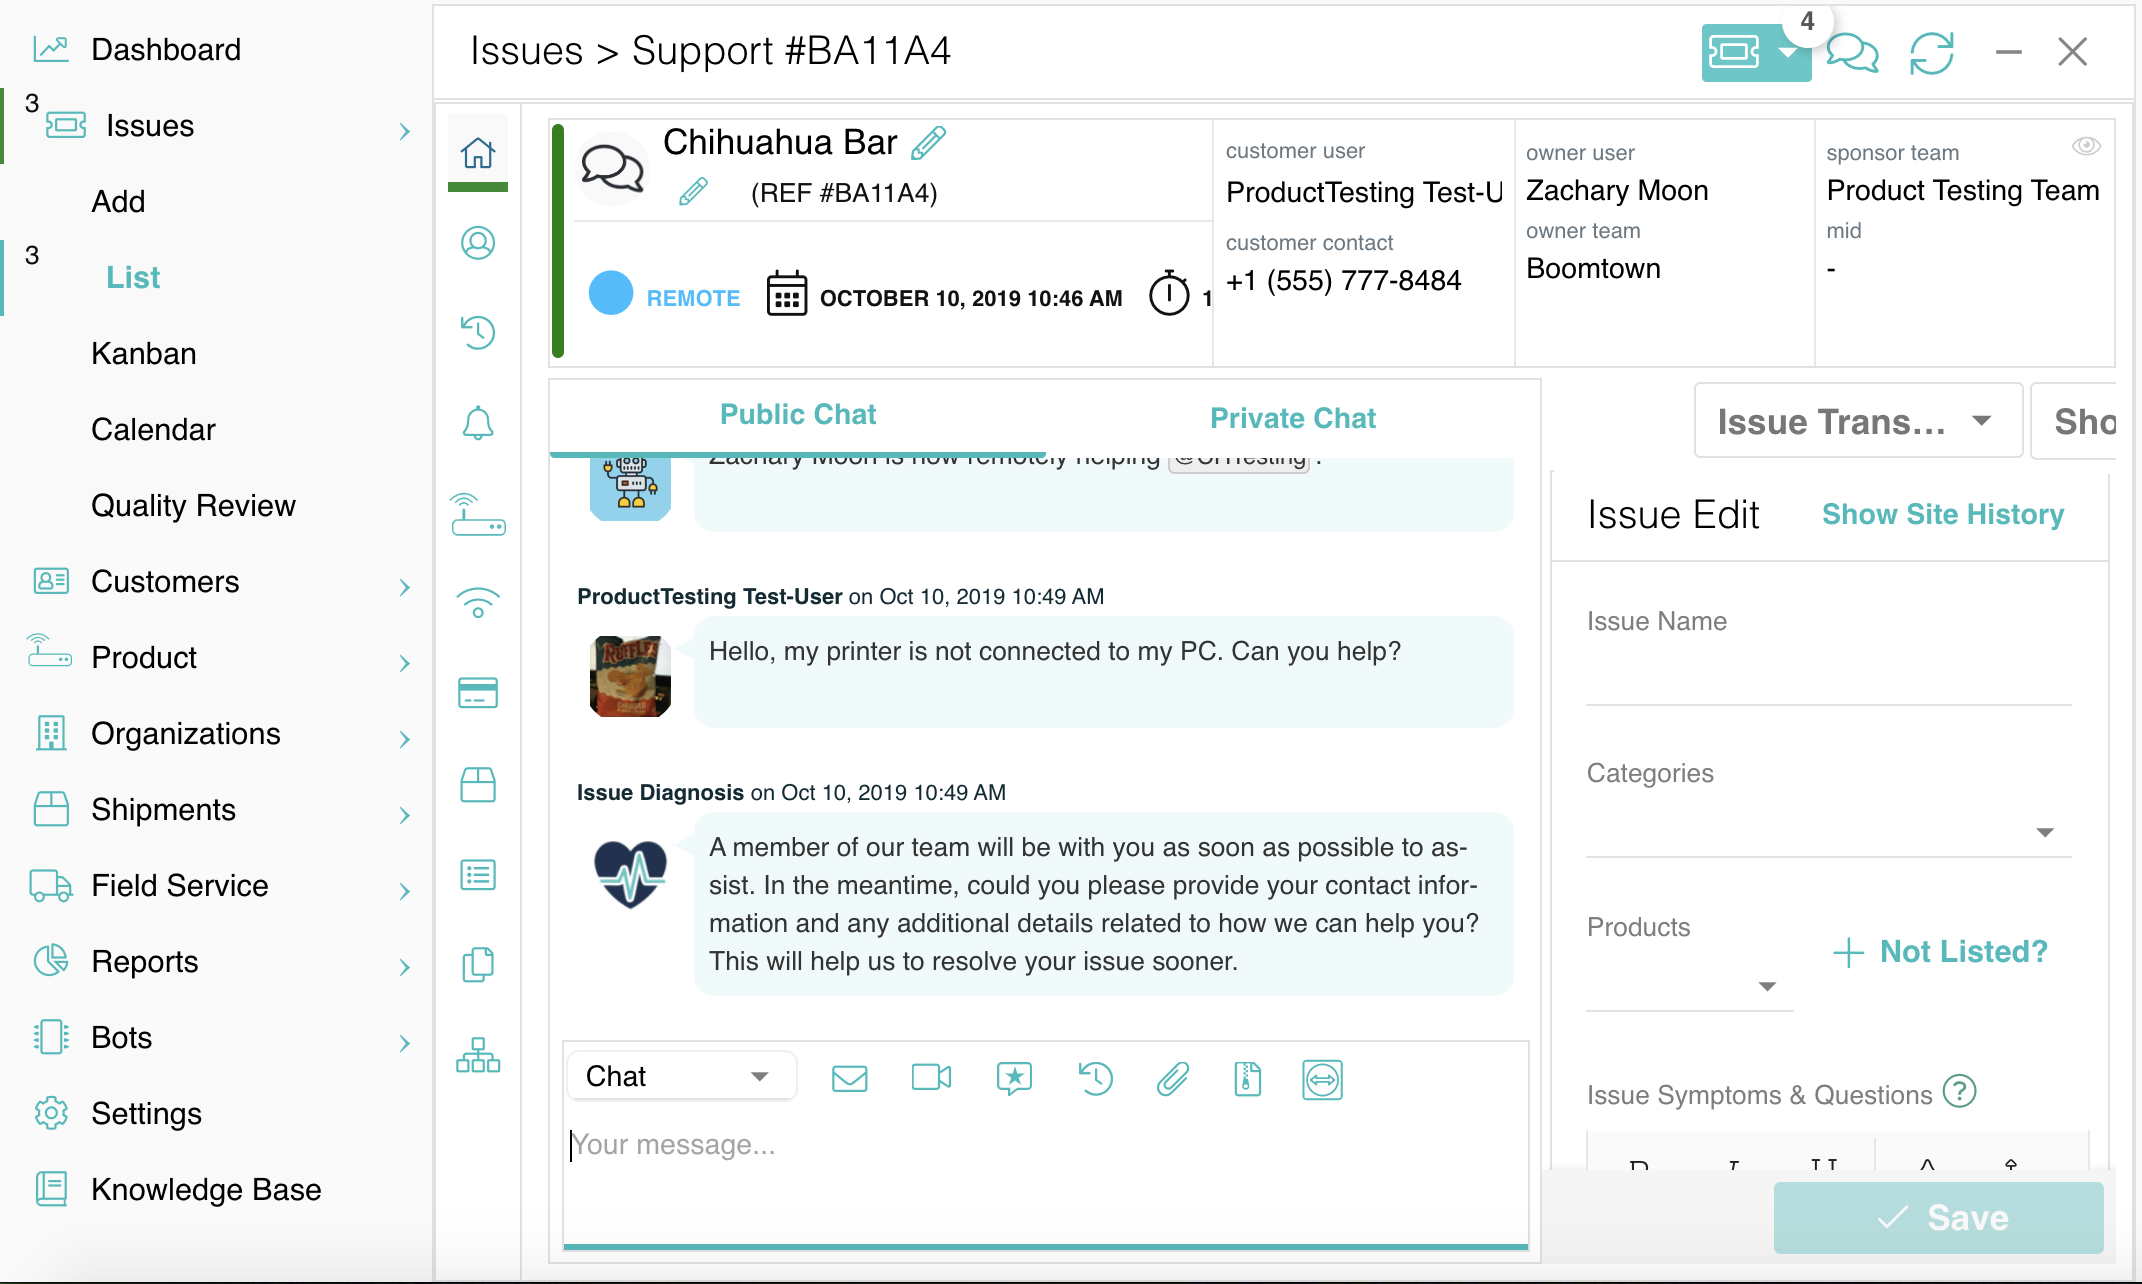
The view of the Issue after it has been opened.