
Manually add cases for new and existing Customers
Last Updated:What's in this article?
Note: This article is subject to change as we continue to make developments to the new software interface that we are rolling out over the course of 2020. These changes will be reflected in the screenshots, workflow descriptions and pathways. This article will be considered up-to-date once this notice has been removed.
When working with a Case on the Boomtown Platform, it may be necessary to reassign a Case from one User to another. This is most commonly used when one User takes over a Case for another User or when a supervisor is distributing Cases to Users/Agents.
How to Create a Case Manually
- Click on Create at the top-right of the screen and select the type of Case you wish to create from the drop-down
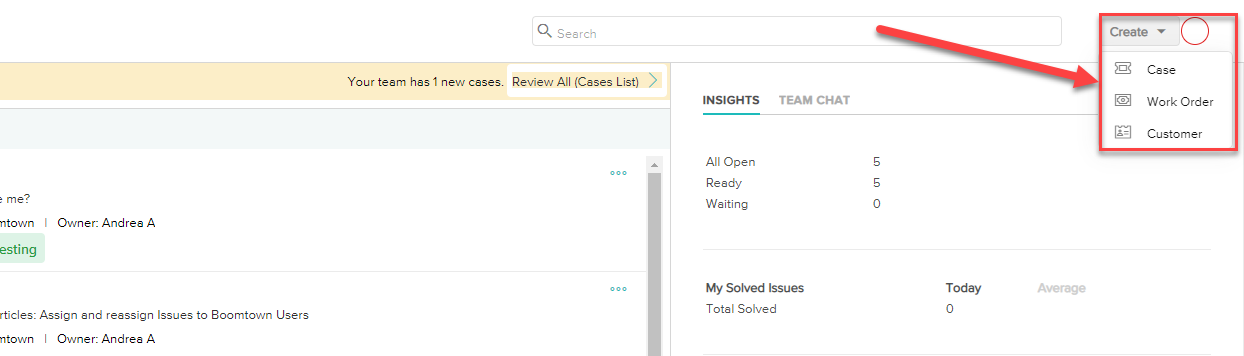
- Once the Case type is selected you will need to search for the Customer to whom the Case belongs
- Note: If the Customer is new and has not yet been added to the Boomtown Platform you will want to select
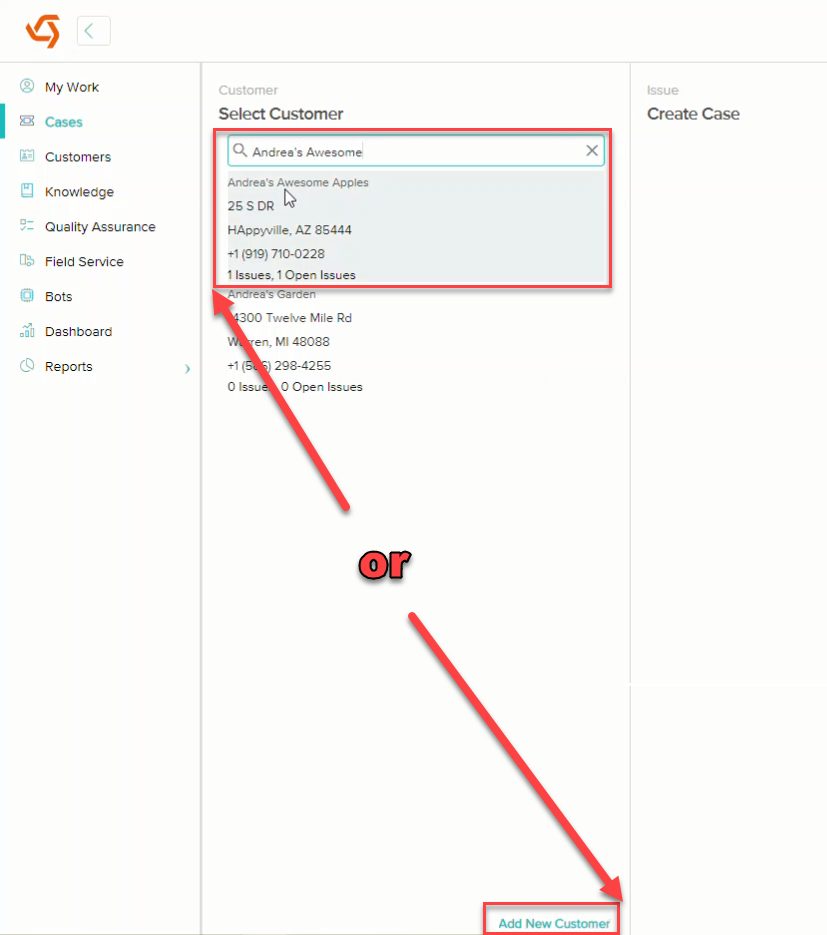
- Note: If the Customer is new and has not yet been added to the Boomtown Platform you will want to select
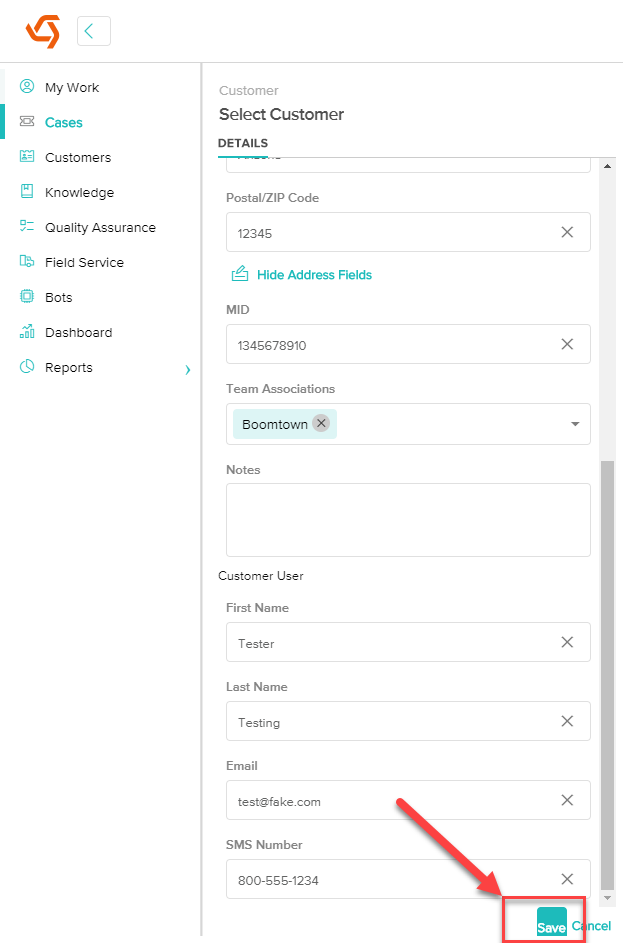
- If entering a new Customer, you will be asked to enter the Customers information. Fill out the fields and click Save at the bottom.
- Once the customer is selected/added, the Case and Case Details will open on the screen.
- Fill in the blank fields to reflect the Case information.
- After Filling in the Case Detail Fields select Save at the bottom
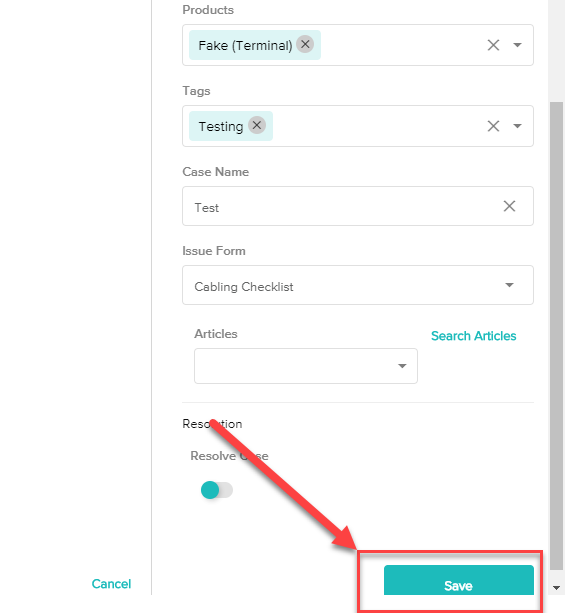
The Case has now been added to the Boomtown Platform and is ready to be solved.