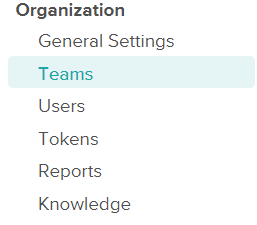
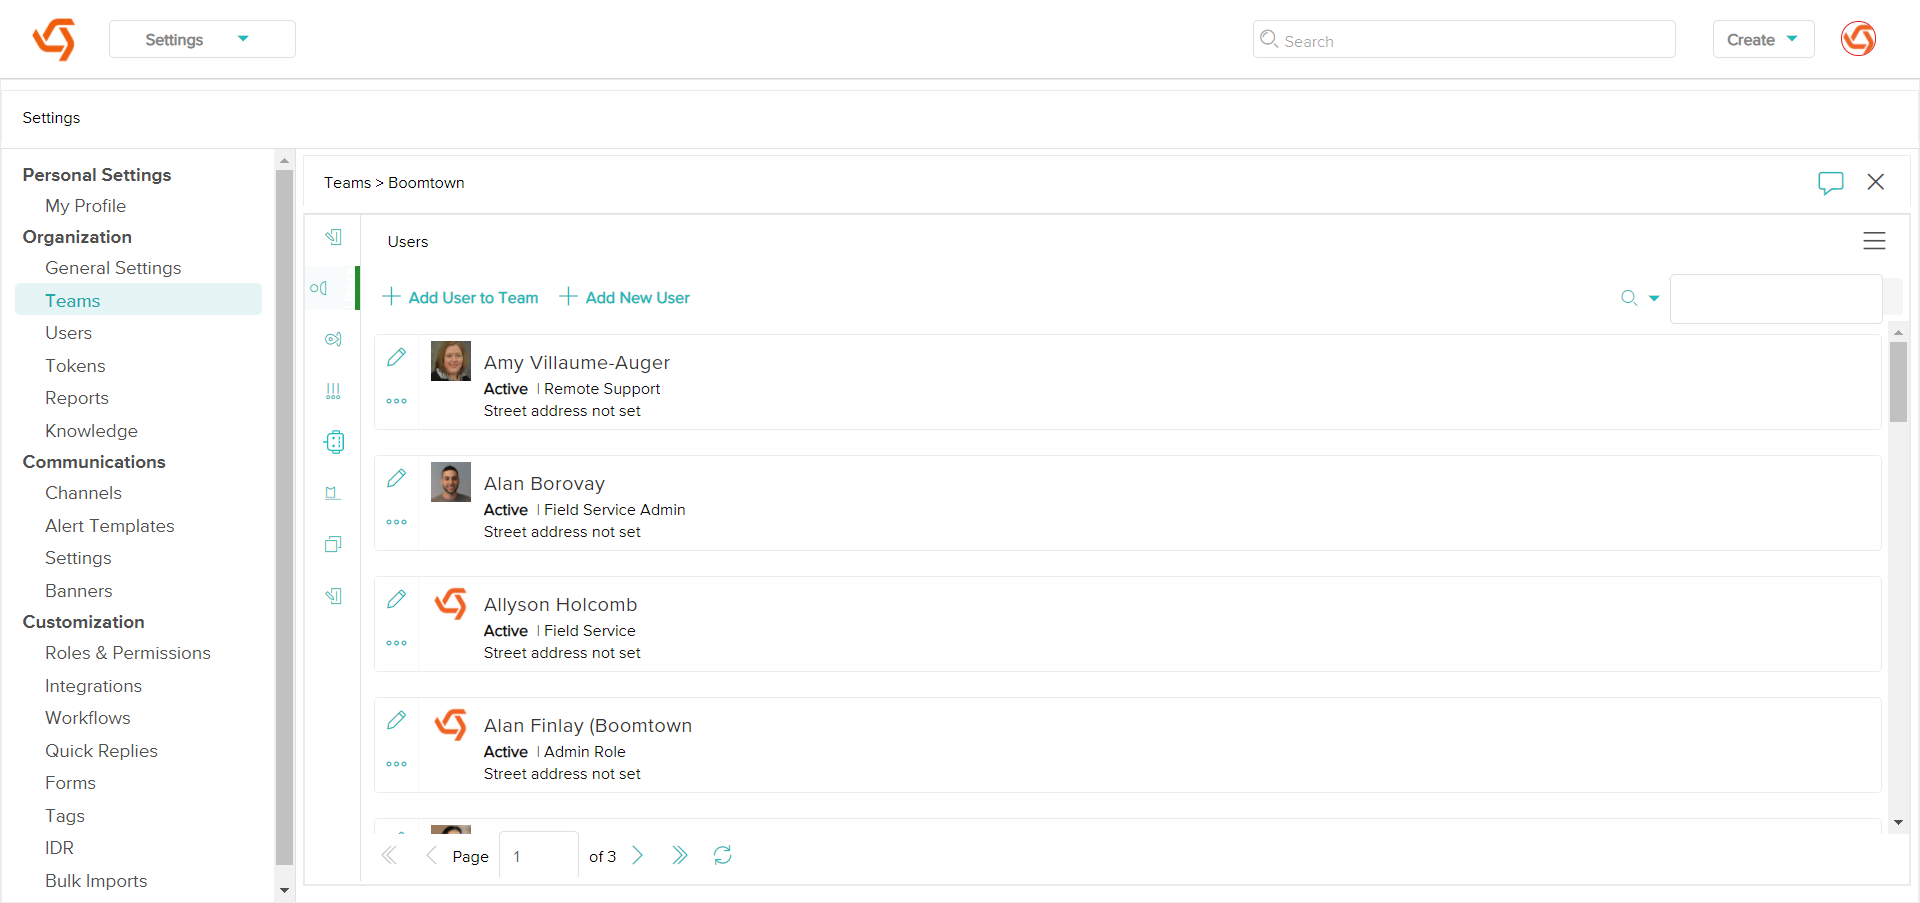
There are two ways to add a new Relay User (otherwise known as System User, partner, or support agent). The first method, through Organizations → Teams, allows you to add a new User and assign them to a Team at the same time. The second method, through Settings → Users, allows you to grant User Group Admin and/or Edit KB permissions at the same time you add the new User. You will then need to assign the new User to a Team.
Method 1 - Add a User to your Team
- Go to Organizations → Teams.

- Select your Team and click
 or double click on it to edit.
 - Go to
 (Users) on the left navigation bar of the Org Teams modal.
 - Click
 to open the Add User modal.
 - Fill out the following fields:
- Email: type the User's email.
- First Name: type the User's first name.
- Last Name: type the User's last name.
- Nickname: (auto-populated).
- Time Zone: select your User's time zone from the dropdown or search for it in the format [Country/City]. NOTE: if you do not fill out this field, your time zone will default to PST.
- Hit Save to add more information about the User or Save & Exit. NOTE: your User will be automatically added to the Team in which it was created. Reload the page for the addition to take effect and check the User Associations field of the Team Profile.

- (optional) Select additional User information:
- Org Role: select the User’s professional role(s).
- Languages: select English, Spanish, and/or Japanese.
- Certifications: select the User’s certification(s) from the dropdown.
- Qualified For: select the User’s qualification(s) from the dropdown.
- Specialist In: select the device(s) the User is eligible to provide support for, or the Team(s) they can represent.

- (optional) Set up Password Management:
- Hit Save or Save & Exit. If you hit Save, you will notice additional icons appear on the left navigation bar of the Add User modal. You may now continue configuring the User’s settings.
Method 2 - Add a Settings User and configure their permissions
- Go to Settings → Users.
- Click
 to open the Add User modal.
 - Follow steps 5-8 of Method 1.
- (optional) Set up the User Access Control:
- Org Role: select Partner (a support agent or other Relay user).
- Teams: select the Organization the User belongs to.
- Permissions: (optional) select the actions you wish the User to be able to perform, such as Group Admin and/or Edit KB (Knowledge Base) permissions. If you leave this blank, the User will not have any permissions beyond assisting Customers on Issues.
- Hit Save or Save & Exit. If you hit Save, you will notice additional icons appear on the left navigation bar of the Add User modal. You may now continue configuring the User’s settings. NOTE: you will need to assign the User to a Team.
